Pages

Sunday, October 16, 2011

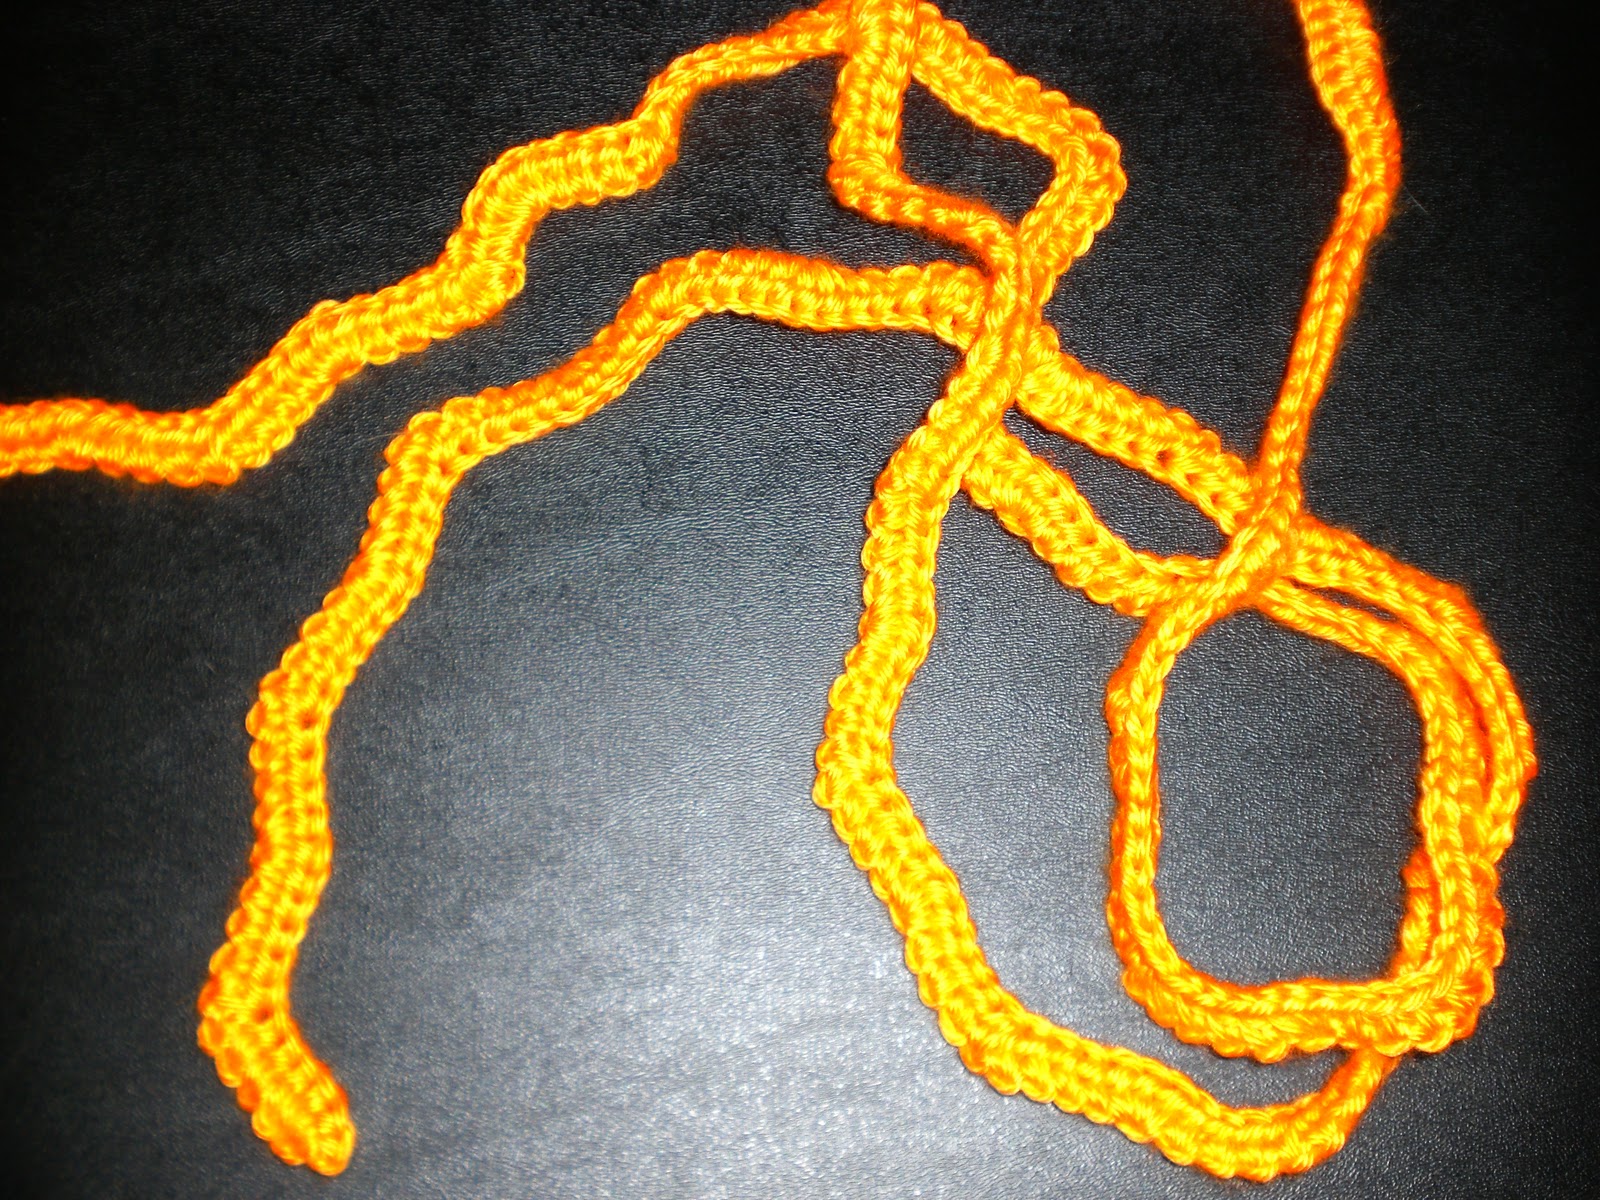
Stem of Leaves Mini Scarf

Another mini scarf pattern.  Can you tell I like them?  This one is a bit different from the others I've done so far.  Firstly, it takes longer to do.  And second, you do actually have to pay attention to what you're doing.  Not a whole lot of attention but more than for, say, the Leaf mini scarf.


I made this using the somewhat customary Red Heart Designer Sport and my trusty F hook.  Are we surprised?  Probably not.  However, I would like to point out that this is the third mini scarf I've made from that particular ball of yarn.  It was a full 3 ounce ball when I started and each of the mini scarves so far have taken about an ounce.  I suspect these little guys are going to help me substantially in cleaning up my stash.  The number of balls of leftover yarn that one accumulates can be rather staggering, and they aren't always enough to make something full sized.  At one point I was trying to put together a scrap afghan.  That idea had a couple of problems, the most important of which is that I am incredibly lazy.  Making a few 3 color, 3 round granny squares is one thing, making well over 300 of them is quite another.  Which leads to problem number 2.  I HATE, hate, hate, hate! piece work.  Sewing all those little buggers together probably would have made me want to toss the whole thing into a lit fireplace.  If I can get away with making something in one and only one piece, it makes me happy.  No sewing, no seaming, that's the way I like it.

Stem of Leaves Mini Scarf


1 ounce (90 to 120 yards) Red Heart Designer Sport
F hook

Leaf Pattern

All joins are done with sl st

Ch 8 and join into a loop.
Ch 1, 16 sc in loop, join to ch 1.
Ch 8, join into a loop.  This should look like an offshoot of the first loop.
Ch 1, 16 sc in loop, join to ch 1,  Then join to first loop where the two loops connect.

Construction


Make one Leaf pattern, ch 5, repeat the Leaf pattern.  Continue in this way until scarf reaches desired length.  End on completion of a Leaf pattern.

Thursday, October 13, 2011

Zig-Zag Mini Scarf

I came up with another mini scarf design that I quite like.  It isn't as fast as the other ones I've come up with, but I think it looks neat enough to take a bit of trouble.  One of these days I'll get something to display my stuff on so I can take better pictures for you.


Zig-Zag Mini Scarf


For this I used Caron Simply Soft and an F hook.  (You guessed it, the F hook was what I had in my purse at the time.)

Ch 270  (Like most of my scarves, length is entirely up to you.  This one is in multiples of 9 sts)
Hdc in the second ch from the hook.  Work hdc's in the next 2 ch sts.  *3 hdc in the next ch.  Work hdc's in the next 3 ch sts then work 1 dec. Hdc int he next 3 chs.*  Repeat from *to* across ending with 3 hdc in last ch.

That's it.  Very simple, though annoying.  I hate working off the chain. It can't be helped for this one though and I think the wavy zig-zag is fun. There's a variation too, if you like.  The zig-zags will be more pronounced if you replace the decrease with skipping those two ch sts and resuming the hdcs in the usual place.


That's it for today, I've got a hockey game to go to!  (Taking yarn and a hooks in my purse, of course.  I get the dt's if I'm away from yarn too long.  Maybe I'll come up with something epic!)

Tuesday, October 11, 2011

Paintin' Corpsy

As you may have surmised from the title of today's post, I have started painting corpsy!  I had hoped to have started this over the weekend but, we had rain.  Enough rain to make it incredibly humid.  I was worried that the snot ragging wouldn't be dry enough or that, if I started painting, he would take too long to dry.  I only want him to look like a rotting corpse, not actually be one.

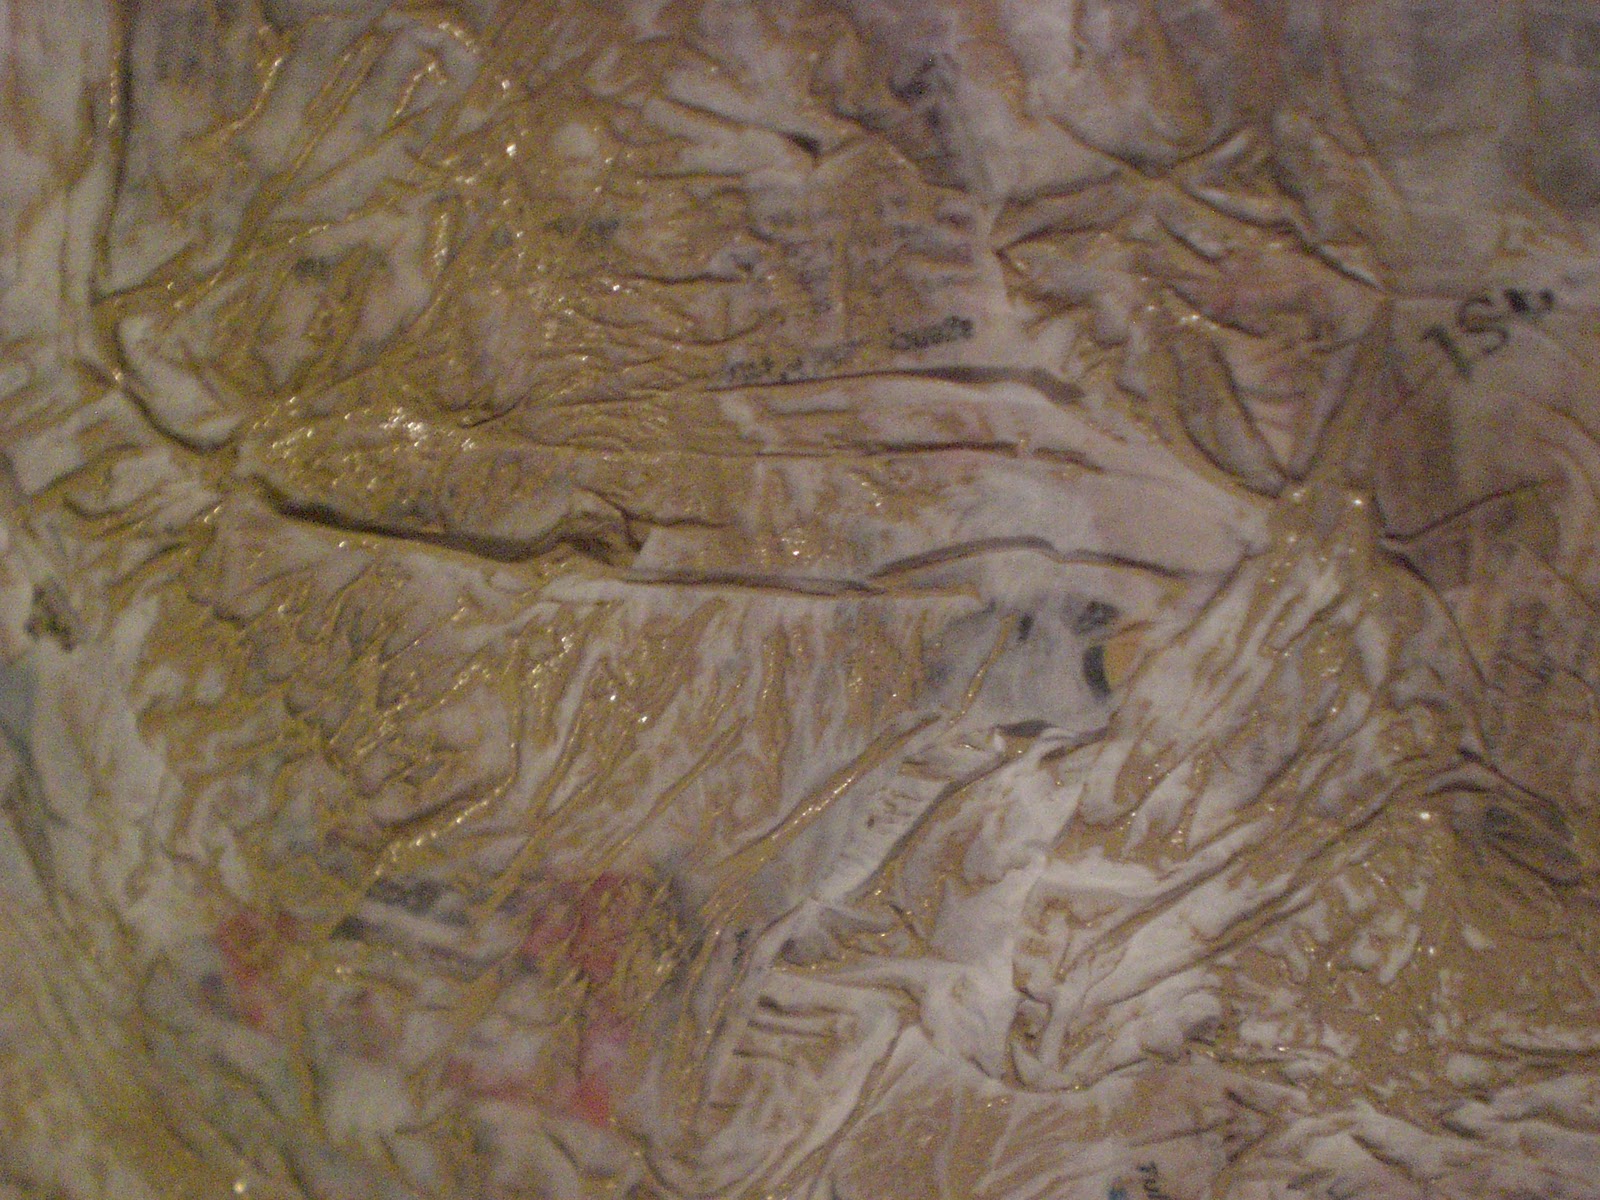
Going back in time for a moment, I had mentioned that the tissues dipped in glue that I used for snot ragging went all transparent on me.  Check it out:

All the white bits are tissues, but I covered the whole body with them.  Anywhere you see newsprint you're seeing through the tissues!  I've already put that characteristic to good use, I'll have a post up in a few days when I get done with them.  (-:

Now, on to the important bit. Painting corpsy!  The first thing you need, besides the corpse (obviously!), is paint.  The interwebs suggest getting unloved latex paint from your local purveyor of such goods.  By unloved paint I mean the stuff that gets mixed and doesn't turn out just right.  They don't toss it, they mark it down and sell it to anyone who will take it.  Now, the interwebs also say that you should get a nice, neutral tan-ish color and then add orange and black acrylic paint to it to get that nice, rotting flesh tone.  I say don't buy more than you have to; if you can find a nice orangey paint, why not get it and save yourself a step?  That's exactly what worked out for me.

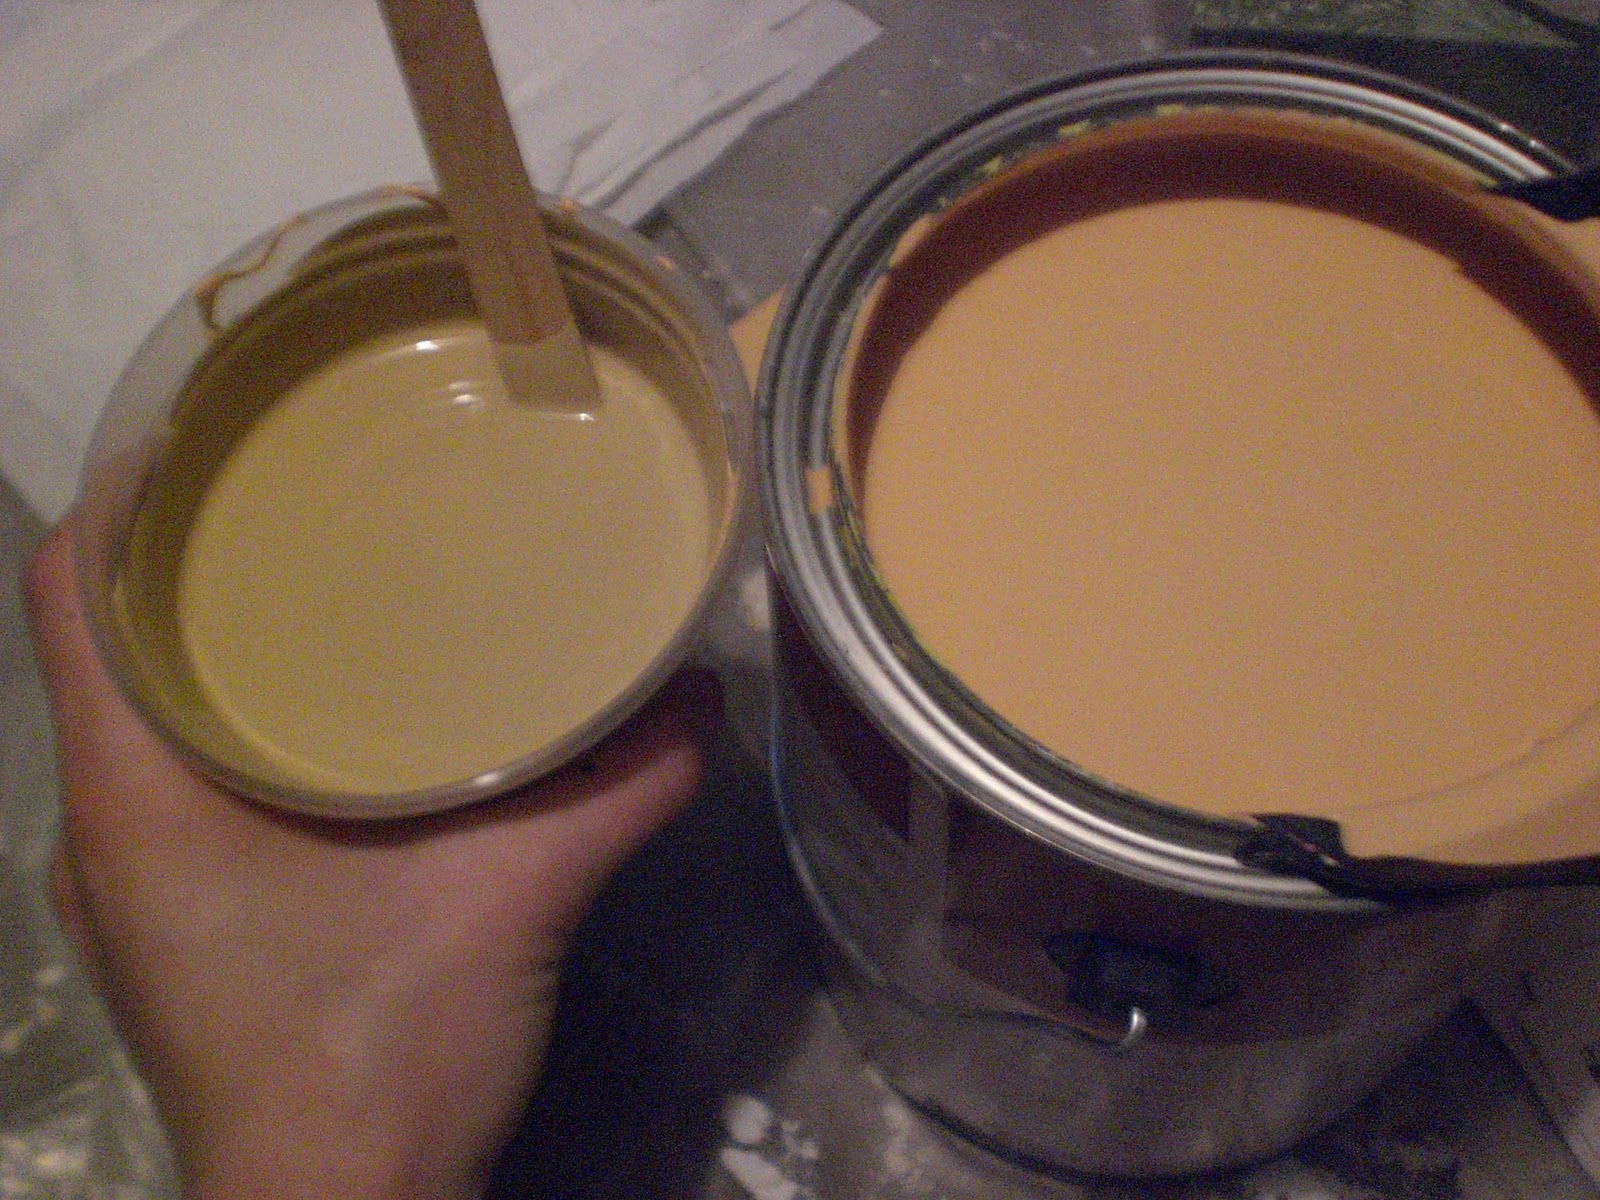
Behold!  My $7 gallon of Behr Premium Plus latex paint!  Yeah, you heard me, $7! For a gallon!  It's amazing the deals you can get when you don't have to be fussy about the color.  (Can you tell I'm inordinately proud of my can of unloved paint?  I think I unnerved the nice paint guy that re-shook the can for me, I was so pleased with the paint.)

So, orange paint and black tint in hand I set out to make my corpse flesh tone.  It took more black than I expected; probably close to 2 tablespoons in close to 2 cups of paint, but that's just an estimate.


 A bit of mixing, and voila!  An almost sickly flesh tone.  My camera doesn't really do it justice, think zombie oompa loompa and you'll about have the color. The orange isn't oompa loompa orange, but it isn't too far off.

 Now for the fun part.  I love painting things.  There's a reason my house has 10 different colors in it.  Granted, half of them are on trim, but that still leaves me 5 colors on the walls, but I digress.  Here is corpsy, all laid out and ready for painting.


 Painting him was rather like painting a very textured wall, if the wall could melt slightly.  It's that adding moisture thing again.  If you do this make sure you paint in defined sections so that you don't have to keep going over areas multiple times.  The snot rags do not like it.  The texture actually makes that a bit of a problem.  You see, you end up having to stipple (dabbing the brush like you're trying to poke paint into the little holes between texture, because you are) quite a bit and the softer the tissues get the harder it gets to make the paint go in all the little crevasses.  I'll be dry brushing  him later to make the texture pop, but this is the base coat so I need good coverage and I'll probably be doing a second coat to make sure I didn't miss too many spots.  That said, I did dry brush a section on the abdomen so I could see how the eventual top coat would look.  I think I'll be happy with it, it looks awesome.


A bit of work later and I have a base coated corpse! Well, on the ventral side anyway.  I still have to do the back.  But he's starting to actually look like a people!  I am quite pleased with how this layer of paint went.


With the close up you can really see some of the texture.


He does look a bit disproportionate and rightly so, because he is, but I think once I have him hanging by his ankles and wrapped in cloth and webbing it won't be too noticeable 

Had I thought about what the snot ragging would do, I would have painted the last mache layer and done a few layers of snot rag mache over it.  The texture rather makes him look like he's already covered in webbing, don't you think?   That plus the clear drying of the snot rags would have made an epic corpse, too.


Saturday, October 8, 2011

Mini Scarves!


Going along in the scarf vein, I've got another super simple pattern to share!  This one came about because I love accessories but you can't always work them in to what you're wearing on any given day.  Hence the Mini Scarf.  It's for the days when you just have to wear yarn but it isn't quite cool enough or you need a color punch for your outfit but it's too warm for a traditional scarf.  I have a thing for bright colors and contrast so I really like the Mini Scarf's ability to add some interest.  I tend to wear dark colors a lot so having a shot of color is really helpful.

Here is Mini Scarf pattern #1, the Leaf Scarf.


I used Red Heart Designer Sport and an F hook, but, like most of my scarves, you can use pretty much anything you want.

Ch 3.
Row 1: 2 dc in the third ch from the hook.  Ch 2, 3 dc in the same stitch.  Turn.
Row 2: Sl st up to and in the ch2.  Ch 2, 2 dc.  Ch 2, 3 dc in the same space.  Turn.

Repeat row 2 until scarf is desired length.
As you can see, there are a lot of options for how to wear this little one.  The gaps make it so you can pass the scarf through itself.

Mini Scarf #2: the Sea Weed scarf


Is also made with 3 dc clusters, but because you don't turn the work, it comes out in spirals.  Just as an amusing side note, the reason I call it the "sea weed" scarf is because it reminds me of the hanging purple things in the entrance to Ursula's lair in Disney's The Little Mermaid.

Again, I used the Red Heart Designer Sport and an F hook.  Not for any particular reason, it just happened to be what I had at the moment.

Ch 3.

Row 1:  2dc in first ch.  Do not turn.
Row 2:  Ch2, 2dc into the base of the ch 2. Do not turn.

Repeat row 2 until scarf is desired length.

Friday, October 7, 2011

Adventures in Corpsing


I started the corpsing process on corpsy!  Snot ragging is just as messy as the actual paper mache but it didn't take as long because you don't need as many layers.  The glue mixture is different from what I used for the paper mache too.  I used a recipe similar to the one that you can find at my one stop corpsing resource.  However, I don't like to measure anything so my glue mixture is a bit of an as you go sort of thing.  I used the glue, water, and cornstarch but, unlike the recipe I "followed" my mixture was mostly glue and water with just a bit of the cornstarch.  Initially, I was going to follow another set of instructions that just called for glue.  When I tried it though it didn't saturate the tissues enough so I had to mix it.

The really important thing here is that you use two-ply tissues.  That's what seems to give the interesting texture to the process.  The other important thing to remember is that tissues are fragile.  I took an extra bit of time to lay out all my materials beforehand because of this.  With hands covered in glue, pulling tissues out of a box was likely to be an issue.  I pulled out a bunch of tissues and then laid them out in such a way that I could grab a single tissue by the corner without disturbing the others.

From there the process is simple.  Dunk the tissue and apply to the body.  Truth be told, it isn't quite as simple as it sounds.  Like I said earlier, tissues are fragile and that fragility gets worse when they get wet. What I did was hold a tissue on one side with both hands and then dunk the tissue in such a way that the center of the tissue went into the glue and the side that I wasn't holding went up over my hands.  Then I pulled the tissue gently up and open at the same time and let the excess glue drip off.  After it had drained a bit I stuck the now sodden and well named "snot rag" onto the body.  Once you put the snot rag on you pretty much have to leave it there.  Moving it in any meaningful way will make it tear.  All I had to do was cover the whole body in this manner. Another thing you should know is that, because the snot rags are wet, they moisten the mache.  If you don't have a sturdy layer of mache as a base the arms and legs can bend when they get re-wetted,  Sadly, because this is a very messy process the best I can do for photos are before and after shots.  So here you go, before:


And after:


Pretty spiffy, no?

Interestingly enough, the glue dries clear...so the tissues do too.  Not if they're overlapped, but a single tissue will dry about 90% clear on sections where it's flat.  Of course, that gave me an idea which I intend to play with.  I'll share the results with you when I get them. You can't see the effect on corpsy in the pic because the glue was still wet then.  Once the back layer dries, and before I paint, I'll get a few close ups to share.

Thursday, October 6, 2011

My Favorite Scarf


Instead of boring you with a blow by blow of paper mache layers on corpsy, I figured I would take a minute to go on about why I love October.  Yes, Halloween is right up there at #1 on my list.  If you've been reading this at all it's been painfully obvious how much I like Halloween.  In the rapture of making Halloween props and decorating I don't do as much yarn crafting as I would like, though.  And that makes me sad because the other thing I love about October is that I can finally start to wear my projects regularly because it's starting to get freaking cold.  Don't get me wrong, I hate the cold and it isn't the cold that I'm enjoying.  I hate the cod with a passion.  I grew up in southern California, a child of the desert and the ocean.  Anything below 75 degrees F is cold to me.  But, because of yarn, I can tolerate temperatures down to maybe 68 degrees F.  I love yarn and the myriad of things that can be done with it.  Until recently I mostly made scarves and hats with the occasional blanket.  They're stupidly easy to crochet, you don't even really need a pattern.  Learning to knit started to add sweaters to my repertoire.  Sweaters are good.  All those little yarn loops make great insulation for under coats.  For today, though, I thought I would share my own personal favorite scarf.  

It's a pattern that I came up with about 2 years ago.  Around this time, as it happens.  I was watching The Crow (awesome movie, I highly recommend it if you haven't seen it) and fiddling with some bright green yarn.  I wanted to make a scarf because it was starting to get cold out but scarves can be SOOOOO BORING!  Long rectangles.  Woo. Loads of fun there.  Now, I knew my scarf couldn't be horribly boring as it was going to be bright green, but I was worried about how it would look.  After a bit of playing I stated making it in a cluster motif.  For you non-crocheters/knitters a "shell" or "cluster" is typically a group of a set number of stitches.  A motif can refer to use of shells or clusters or also to any other pattern set.  It makes pattern writing easier because you can say "do this, then make this many shells/clusters/motifs".  I used one of the simplest clusters out there, a group of three double crochets.  What made it fun was getting rid of that damnably straight edge.  You see, in working my motif I decided to make clusters of the corners of the previous ones every other row and on the 'every' row I didn't go out that far.  It's really super easy.  There is no gauge, nor do you have to have anything specific to make it beyond yarn and a crochet hook.  Check it out:


Lyssa's Signature Scarf


Pick a yarn, any yarn.  If you use a box store yarn like Red Heart you'll use maybe half of a 7 or8 ounce skein.  It really doesn't take much.  You may also want a contrasting color of yarn for tassels.
Appropriate sized crochet hook for the yarn you picked.

For reference, the first time I made this I used Red Heart Super Saver yarn and a K hook.

Make the scarf as wide as you like.  Chain in multiples of 4 plus 1 stitch at the end.
Row 1:  Dc in the fourth chain from the hook and in the next ch st.  *Skip 1 ch, dc in the next 3 sts.*  Repeat from * to * across the piece, ending on the 3 dc cluster.  Turn.
Row 2: Slip st in the tops of the 3 dc and between the third and fourth dc.  Ch 2, 2 dc in same space.  3 dc in the space after every third dc across.  When one 3 dc cluster remains ch 2 and turn.
Row 3:  2 dc in the bottom of the ch2.  3 dc in the space after every third dc on the previous row.  When there are 3 dc left to work, make the last 3 dc cluster in the top of the ch 2 of the previous row.

Repeat rows 2 and 3 until scarf is the desired length.

Optional tassels:
Choose a length for the tassels and double it.  The tassel threads will be folded in half.  Cut three threads for each tassel.  Using a crochet hook, pull the center of your 3 strand tassel through the end of the scarf and then pull the ends through.  Make sure the tassels are evenly spaced.


Wednesday, October 5, 2011

The Great Sofa Quest


Warning:  Rant Ahead

Why the bloody hell is it so freaking hard to find a decent sofa?  My couch is almost 15 years old and is starting to be a little worse for wear.  Don't get me wrong, I love my living room furniture.  There's a reason I've had it for the last 5 years...well, besides it being free.  I have a house full of wondrous hand me downs that I wouldn't trade for the world.  But, my sofa is rattan and there is only so much abuse something that light can take.  The binding reeds on the coffee table have started breaking off and the poor thing groans whenever people put weight on it.  Even the cross piece, which people insist on putting their feet on, is starting to show some strain.  Mom helped me recover them a while back (read: mostly did herself with my assistance) but the new cushion covers are showing more wear than we expected.  So, I've been looking for a possible replacement or some sturdier fabric to re-recover the thing with.

Finding an affordable sofa that fits my insane criteria is no mean feat.  I'm sure I've mentioned being picky before, and I am.  Very, very picky.  In this case though, it's for good reason.  Actually, it's mostly because of the cats.  For instance, any sofa I get has to be long and wide enough for me to sleep on.  When my parents come to visit they stay in my room and I sleep in the living room.  Now, you might say "why don't you get an air mattress for yourself?" and you would be on to something...except that my cats sleep with me (they pitch a horrendous fit if I'm on the other side of a door from them) and they both are fully clawed.  Since neither of them has the reticence about pawing at me and my bedding that my dearly departed Snowball did anything that can be perforated is out.  Amazingly, that goes for anything made of microfiber as well.  It's really thin, you see, and anyone who has had cats will tell you how couches get used as springboards during a madcap dash around the living room. 

My criteria are pretty simple.  Without going into further depth about why they are my criteria the list is as follows:

Low cost 
Easy to move around
No microfiber
Big enough to sleep on
Not textured on either upholstery or main material
Not huge
Relatively modern design

The only ones that have nothing to do with my beasties are the cost, style, and size.  I'm a tiny person, tall but small, so I don't like feeling like my couch is trying to eat me and I have no intention of going without food to have a fancy sofa.  I'm also a big fan of ultra-modern furniture, if not the price tags that come with it.  

Which gets me back to how devilishly hard it has been for me to find anything that fits my criteria and that I both like and can afford.  The local fabric stores have been letting me down, too.  Their selections of brightly colored outdoor upholstery canvas are sadly lacking and pervaded with pink and orange.  I don't just hate pink, I loathe pink.  Unless it's so bright it makes your eyes hurt and the tone tends toward fuchsia, of course.  Then it's ok. Oh, and I hate orange too.  Passionately.  Small amounts are kinda ok, but anything else is out.  

::sigh:: guess I'll just keep sitting on my couch and dreaming of the furniture I'll probably never be able to have.  Argh.